How to Set Up SPF, DKIM, and DMARC (Step-by-Step)
Setting up SPF, DKIM, and DMARC is the single most important thing you can do to protect your sending domain and stay out of spam folders. I've set these up for hundreds of domains and it's rarely as complicated as people think — but the mistakes can tank your deliverability for months. This guide covers the exact DNS records you need, common pitfalls I see every week, and how to verify everything is working correctly using free tools.
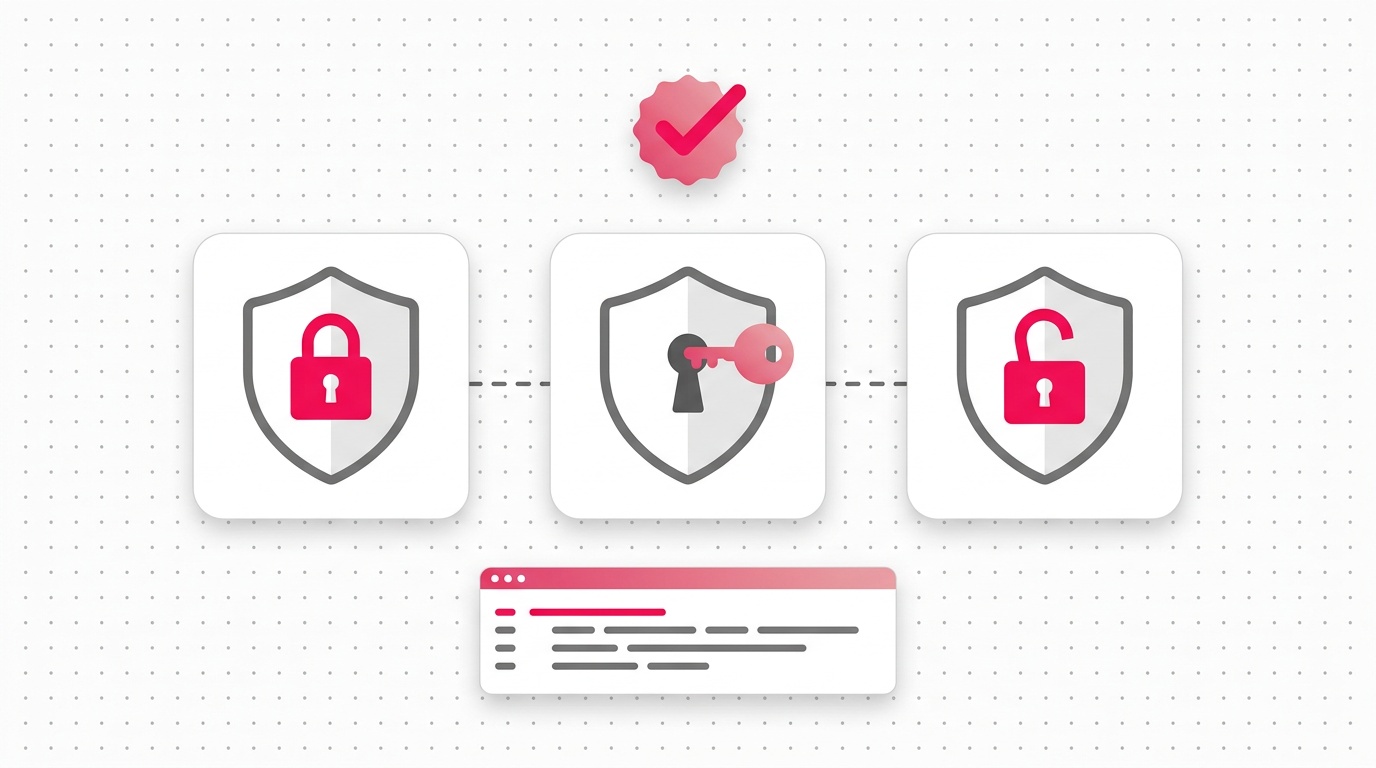
SPF, DKIM, and DMARC are DNS records that prove your emails are legitimate. Without them, Gmail, Outlook, and other providers have no way to verify that email sent from your domain is actually from you — and increasingly, they just send unverified email straight to spam. I've fixed these records for hundreds of domains and it's almost never as complicated as people fear. This guide covers the exact DNS syntax, order of operations, and how to verify each record is working.
Why SPF, DKIM, and DMARC Setup Matters
In February 2024, Google and Yahoo introduced mandatory authentication requirements for anyone sending bulk email. As of 2026, having these three records configured correctly isn't optional for serious email senders — it's the baseline.
Here's what each record does:
- SPF (Sender Policy Framework): Lists the mail servers authorized to send email for your domain. If a server not on your list sends email from your domain, receiving servers know it might be spoofed.
- DKIM (DomainKeys Identified Mail): Adds a cryptographic signature to every email you send. Receiving servers can verify this signature to confirm the message wasn't tampered with in transit.
- DMARC (Domain-based Message Authentication, Reporting & Conformance): Ties SPF and DKIM together and tells receiving servers what to do when an email fails both checks — quarantine it, reject it, or let it through with a report.
Together, they form the foundation of email authentication. Missing any one of them weakens the entire setup.
Before You Start: What You'll Need
- Access to your domain's DNS settings (usually your domain registrar — GoDaddy, Namecheap, Cloudflare, Route 53, etc.)
- Your email service provider (Google Workspace, Microsoft 365, Mailgun, SendGrid, Postmark, etc.)
- About 20-30 minutes — most of this is wait time for DNS propagation
Quick check: Run your domain through our free tools before you start so you know what's already in place:
Step 1: Set Up Your SPF Record
SPF records are TXT records added to your domain's DNS. They tell the world which IP addresses and mail servers are allowed to send email on your domain's behalf.
SPF Record Syntax
An SPF record lives at your root domain (or subdomain) and looks like this:
v=spf1 include:_spf.google.com ~all
Let's break down each part:
| Part | Meaning |
|---|---|
v=spf1 | Version — always spf1 |
include:domain.com | Authorize the mail servers listed in that domain's SPF record |
ip4:1.2.3.4 | Authorize a specific IPv4 address |
ip6:2001:db8::/32 | Authorize an IPv6 range |
-all | Hard fail — reject email from unlisted servers |
~all | Soft fail — mark as suspicious but still deliver |
?all | Neutral — no policy (avoid this) |
+all | Pass all — dangerous, don't use |
SPF Records for Common Email Providers
Google Workspace:
v=spf1 include:_spf.google.com ~all
Microsoft 365:
v=spf1 include:spf.protection.outlook.com ~all
SendGrid:
v=spf1 include:sendgrid.net ~all
Mailgun:
v=spf1 include:mailgun.org ~all
Postmark:
v=spf1 include:spf.mtasv.net ~all
Multiple providers (e.g., Google Workspace + SendGrid):
v=spf1 include:_spf.google.com include:sendgrid.net ~all
How to Add Your SPF Record
- Log in to your DNS provider (Cloudflare, GoDaddy, Namecheap, etc.)
- Navigate to DNS records for your domain
- Add a new TXT record:
- Host/Name:
@(or leave blank for root domain) - Value: Your SPF record string (e.g.,
v=spf1 include:_spf.google.com ~all) - TTL: 3600 (1 hour) or your provider's default
- Host/Name:
- Save and wait 5-30 minutes for propagation
SPF Pitfalls to Avoid
Duplicate SPF records: You can only have one SPF TXT record per domain. If you have two, they conflict and both fail. Merge all your authorized senders into a single record.
The 10 DNS lookup limit: SPF has a hard limit of 10 DNS lookups per validation. Every include: statement counts as a lookup. If you're using many email services, you can hit this limit. Use a tool like MXToolbox SPF Check to count yours.
Using -all too early: Start with ~all (soft fail) while you're testing. Move to -all (hard fail) only after you've confirmed all your sending sources are covered and everything is working.
Step 2: Set Up DKIM
DKIM requires generating a public/private key pair. Your email provider keeps the private key and uses it to sign outgoing emails. You publish the public key as a DNS TXT record so receiving servers can verify the signature.
How DKIM Works
Every email you send gets a DKIM-Signature header added to it automatically by your mail server. Receiving servers look up your DKIM public key in DNS, use it to verify the signature, and confirm the email wasn't modified in transit.
DKIM DNS Record Format
DKIM records live at a specific subdomain pattern:
[selector]._domainkey.[yourdomain.com]
For example, Google Workspace uses the selector google, so the record lives at:
google._domainkey.yourdomain.com
A DKIM TXT record looks like this:
v=DKIM1; k=rsa; p=MIGfMA0GCSqGSIb3DQEBAQUAA4GNADCBiQKBgQC...
| Part | Meaning |
|---|---|
v=DKIM1 | Version |
k=rsa | Key type (RSA is standard; ed25519 is newer and shorter) |
p= | Your public key (base64 encoded) |
Setting Up DKIM by Provider
Google Workspace
- In Google Admin Console, go to Apps > Google Workspace > Gmail
- Click Authenticate email
- Select your domain
- Click Generate new record — Google generates a 2048-bit key pair
- Copy the TXT record value provided
- In your DNS provider, add a TXT record:
- Host:
google._domainkey - Value: The long string Google provided (starts with
v=DKIM1; k=rsa; p=...)
- Host:
- Back in Google Admin, click Start authentication
Microsoft 365
Microsoft 365 can auto-generate DKIM keys for your domain:
- Go to the Microsoft Defender portal
- Navigate to Email & Collaboration > Policies & Rules > Threat Policies > Email Authentication Settings
- Select your domain and click Enable
- Microsoft provides two CNAME records to add to your DNS (they handle the TXT records behind the scenes):
selector1._domainkey.yourdomain.com → selector1-yourdomain-com._domainkey.youronmicrosoft.com selector2._domainkey.yourdomain.com → selector2-yourdomain-com._domainkey.youronmicrosoft.com - Add these CNAME records, wait for propagation, then enable DKIM signing in the portal.
SendGrid
- In SendGrid, go to Settings > Sender Authentication
- Click Authenticate Your Domain
- Select your DNS host and follow the prompts
- SendGrid gives you CNAME records (not TXT) to add:
em1234.yourdomain.com → u1234567.wl123.sendgrid.net s1._domainkey.yourdomain.com → s1.domainkey.u1234567.wl123.sendgrid.net s2._domainkey.yourdomain.com → s2.domainkey.u1234567.wl123.sendgrid.net - Add all three CNAMEs to your DNS, then verify in SendGrid
Mailgun
- In Mailgun, go to your domain settings
- Mailgun provides two TXT records:
pic._domainkey.yourdomain.com → k=rsa; p=MIGfMA0GCSq... - Also add their SPF include and MX records if you're receiving email through Mailgun
Verify DKIM is Working
After propagation (5-60 minutes), verify with:
- Consulti DKIM Checker — enter your domain and selector
- Send a test email to mail-tester.com and check the DKIM score
A passing DKIM record returns dkim=pass in the email headers.
Step 3: Set Up DMARC
DMARC is the policy layer. It tells receiving mail servers what to do with email that fails SPF and/or DKIM checks for your domain. It also sends you aggregate reports so you can see exactly who is sending email from your domain.
DMARC Record Format
DMARC records are TXT records at _dmarc.yourdomain.com:
v=DMARC1; p=none; rua=mailto:dmarc-reports@yourdomain.com
| Tag | Meaning | Options |
|---|---|---|
v=DMARC1 | Version (required) | Always DMARC1 |
p= | Policy (required) | none, quarantine, reject |
rua= | Aggregate report destination | mailto:your@email.com |
ruf= | Forensic report destination | mailto:your@email.com |
pct= | Percentage of messages to apply policy to | 1-100 (default: 100) |
sp= | Subdomain policy | none, quarantine, reject |
adkim= | DKIM alignment mode | r (relaxed), s (strict) |
aspf= | SPF alignment mode | r (relaxed), s (strict) |
DMARC Policy Stages
Stage 1 — Monitor (start here):
v=DMARC1; p=none; rua=mailto:dmarc@yourdomain.com
This does nothing to your mail flow — it just sends you reports. Run this for 2-4 weeks to identify all legitimate sending sources.
Stage 2 — Quarantine (after reviewing reports):
v=DMARC1; p=quarantine; pct=25; rua=mailto:dmarc@yourdomain.com
The pct=25 means only 25% of failing emails get quarantined. Gradually increase this as you gain confidence.
Stage 3 — Reject (full enforcement):
v=DMARC1; p=reject; rua=mailto:dmarc@yourdomain.com
This is the gold standard. Emails that fail both SPF and DKIM checks get rejected outright. This is what protects your domain from being spoofed.
How to Add Your DMARC Record
- In your DNS provider, add a new TXT record:
- Host/Name:
_dmarc - Value: Your DMARC policy string
- TTL: 3600
- Host/Name:
- Save and wait for propagation
Understanding DMARC Alignment
DMARC introduces the concept of "alignment" — the From: domain in the email header must match (or align with) the domain verified by SPF and DKIM.
- Relaxed alignment (default): Subdomains are accepted.
mail.yourdomain.comaligns withyourdomain.com. - Strict alignment: Exact domain match required. Only
yourdomain.comaligns withyourdomain.com.
For most setups, relaxed alignment (adkim=r; aspf=r) is appropriate.
Reading DMARC Reports
DMARC aggregate reports arrive as XML files via email. They show:
- Which IPs are sending email from your domain
- How many messages passed/failed SPF and DKIM
- Which email services are sending on your behalf
I recommend using a DMARC report reader like DMARC Analyzer or Postmark's DMARC to parse these into human-readable dashboards.
Step 4: Verify Everything is Working
After adding all three records, do a full verification pass.
Method 1: Use Consulti's Free Tools
Run these checks on your domain:
- SPF Checker — verifies your SPF record syntax and lookup count
- DKIM Checker — tests a specific selector against your domain
- DMARC Checker — checks your DMARC policy and reports alignment
Method 2: Send a Test Email
Send an email to mail-tester.com. It will give you a score out of 10 and flag any authentication issues. You should see:
- SPF: PASS
- DKIM: PASS
- DMARC: PASS
Method 3: Check Email Headers
In Gmail, click the three dots on a received email > "Show original." Look for:
Authentication-Results: mx.google.com;
   dkim=pass header.i=@yourdomain.com header.s=selector header.b=Ab12Cd34;
   spf=pass (google.com: domain of you@yourdomain.com designates 1.2.3.4 as permitted sender) smtp.mailfrom=you@yourdomain.com;
   dmarc=pass (p=REJECT sp=REJECT dis=NONE) header.from=yourdomain.com
All three should show pass.
Common SPF, DKIM, DMARC Problems and Fixes
Problem: SPF returns permerror (permanent error)
Cause: Usually a syntax error or exceeding 10 DNS lookups.
Fix: Validate your record at MXToolbox SPF Check and simplify your include: chain. Use IP addresses directly where possible to reduce lookups.
Problem: DKIM returns dkim=fail (bad signature)
Cause: DKIM key mismatch — you may have rotated the key in your email provider but haven't updated DNS.
Fix: Re-generate the DKIM key in your email provider and update the DNS TXT record.
Problem: DMARC reports show legitimate email failing
Cause: You're sending from an IP or service not covered by your SPF record, or a service that doesn't DKIM-sign with your domain.
Fix: Add the missing service to your SPF include: list and configure DKIM through that service.
Problem: Forwarded emails fail DMARC
Cause: Email forwarding breaks SPF alignment (the forwarding server isn't in your SPF record). DKIM can still pass if the signature survives.
Fix: This is a known limitation of DMARC. Move to p=quarantine with SPF relaxed alignment (aspf=r) to reduce false positives on forwards. DMARC passes as long as DKIM passes, which forwarding usually doesn't break.
Problem: Google Workspace DKIM says "Authenticating" but never activates
Cause: DNS hasn't propagated yet, or you added the record incorrectly.
Fix: Wait 24-48 hours and check again. Verify the record is at exactly google._domainkey.yourdomain.com (not google._domainkey@yourdomain.com or similar).
Complete Example: Full Authentication Setup
Here's what a complete, properly configured domain looks like in DNS:
SPF (TXT at @):
v=spf1 include:_spf.google.com include:sendgrid.net ip4:203.0.113.10 ~all
DKIM (TXT at google._domainkey):
v=DKIM1; k=rsa; p=MIGfMA0GCSqGSIb3DQEBAQUAA4GNADCBiQKBgQDC3n...
DKIM (TXT at s1._domainkey for SendGrid):
k=rsa; p=MIGfMA0GCSqGSIb3DQEBAQUA...
DMARC (TXT at _dmarc):
v=DMARC1; p=reject; rua=mailto:dmarc@yourdomain.com; adkim=r; aspf=r
Advanced: Setting Up DMARC for Subdomains
If you send email from subdomains (e.g., marketing.yourdomain.com, support.yourdomain.com), each subdomain needs its own SPF and DKIM records. DMARC handles subdomain policy separately with the sp= tag.
Root domain DMARC with subdomain policy:
v=DMARC1; p=reject; sp=quarantine; rua=mailto:dmarc@yourdomain.com
This rejects failures at the root domain but only quarantines subdomain failures — useful during subdomain migration.
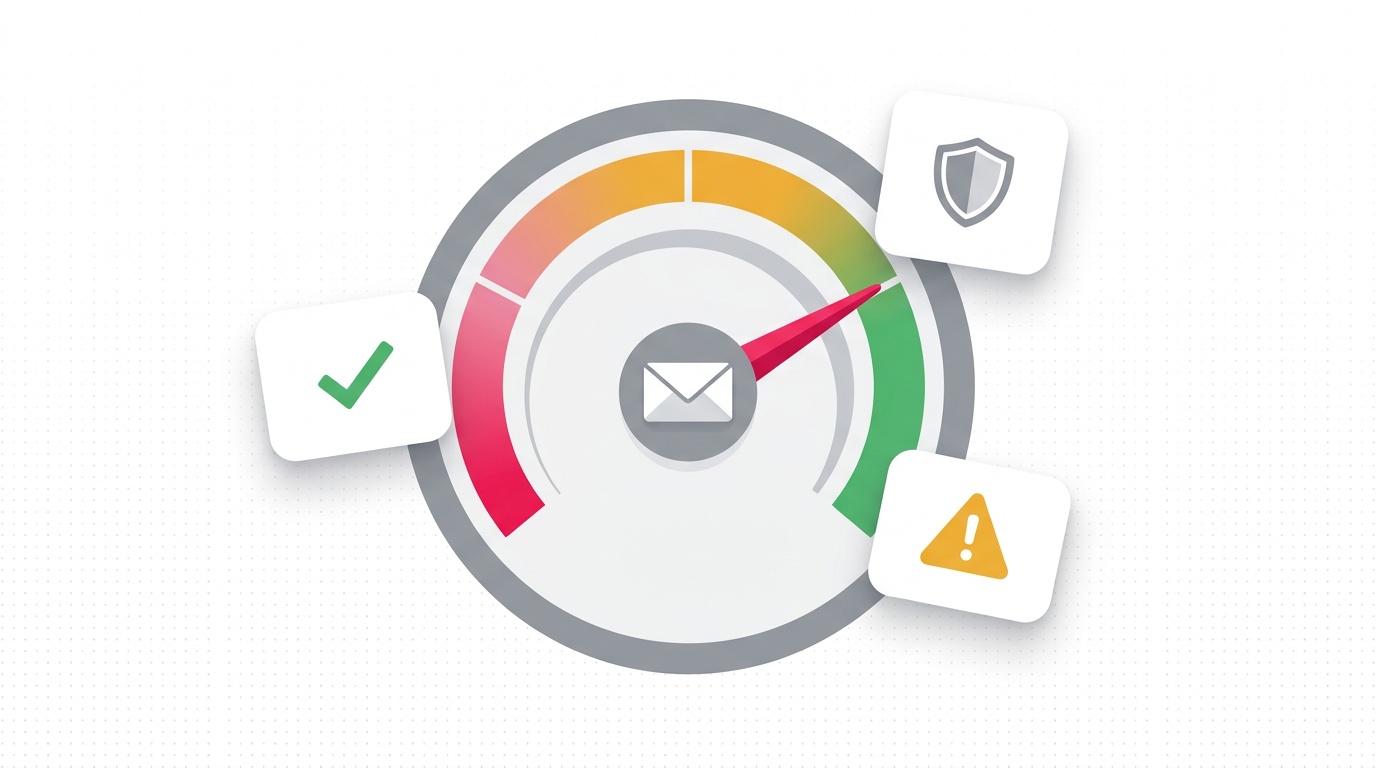
Checking Your Email Spam Score After Setup
After configuring SPF, DKIM, and DMARC, your sender reputation should improve — but authentication alone doesn't guarantee inbox placement. Check your email spam score to see what else might be affecting deliverability.
The full picture includes:
- Domain age and reputation history
- IP reputation
- List hygiene (bounce rate, spam complaints)
- Content scoring (spam trigger words, HTML ratio, image-to-text ratio)
- Sending volume ramp-up
FAQ: SPF, DKIM, and DMARC Setup
Do I need all three, or just one? You need all three for full email authentication. SPF alone is easily spoofed. DKIM alone doesn't prevent domain abuse. DMARC without SPF and DKIM has nothing to enforce. They work as a system — implement all three.
How long does DNS propagation take? Most DNS changes propagate within 5-30 minutes, but full global propagation can take up to 48 hours. Check propagation status with DNSChecker.org.
Can I use DMARC without DKIM? Technically yes, but you're leaving your domain vulnerable. A message passes DMARC if it passes either SPF or DKIM alignment. If you only have SPF, forwarded emails will fail DMARC because forwarding breaks SPF. DKIM usually survives forwarding intact.
What's the difference between SPF hard fail (-all) and soft fail (~all)?
Hard fail (-all) tells receiving servers to reject email from unlisted sources. Soft fail (~all) tells them to mark it as suspicious but still deliver it. Start with soft fail while testing, move to hard fail once you're confident your SPF record covers all your sending sources.
My DMARC policy is p=none — is my domain protected?
No. p=none is monitor-only mode. It generates reports but takes no action on failing email. Your domain can still be spoofed. Move to p=quarantine or p=reject once you've reviewed your reports and confirmed all legitimate sending is covered.
Free Tools to Check Your Email Authentication
Run your domain right now with Consulti's free authentication checkers:
- SPF Record Checker — validate syntax and lookup count
- DKIM Checker — test any selector against your domain
- DMARC Policy Checker — check policy, alignment, and reporting
No signup required for the free checks.
Check your SPF, DKIM, and DMARC records for free →
Related reading:
- The Complete Guide to Email Deliverability — covers domain reputation, inbox placement, and warming strategy
- Email Spam Score: What It Is and How to Fix It — diagnose and fix spam score issues beyond authentication
External resources:
Related Posts

What Is DMARC? Complete Guide for Non-Technical Teams (2024)
Your cold emails are hitting spam folders, and DMARC might be the culprit. This non-technical guide explains how DMARC authentication works and why it's crucial for email deliverability in 2024, especially after Google and Yahoo's new requirements.
Email Spam Score: What It Is and How to Fix It
Your email spam score is a number assigned by spam filters — primarily SpamAssassin — that determines inbox vs. junk folder placement. Below 5 is safe; above 10 means blocked. This guide covers how spam scores are calculated, how to check yours free, and 10 concrete fixes: SPF/DKIM setup, list cleaning, content fixes, and blacklist removal.

The Complete Guide to Email Deliverability in 2026
Email deliverability determines whether your emails land in the inbox or spam. In 2026, the average deliverability rate is 85% — meaning 1 in 6 emails is never seen. This guide covers authentication, sender reputation, list hygiene, and tools to diagnose and fix every common deliverability problem.
Ready to find your next customers?
Search 10M+ verified B2B contacts and launch cold outreach campaigns with our free email deliverability tools.